It is better to install Poser out of the default program file directory. This is because there are some python scripts you may wish to use that will not function properly due to permissions in the program file directory. I always install Poser in the root directory of one of my drives so I will have the directory structure looking something like C:Poser Pro 2012.
Now that Poser is installed open it up and you will find a screen similar to this:
The first thing you will want to do is to set your preferences so that when Poser loads it is the way you want it and normally without Andy being in the scene.
First, let’s get rid of Andy. Click on him and press the delete key and then the OK button that appears in the window.
Now go to Edit -> General Preferences and the following window will pop up:
Make sure the Document tab is selected and select the radio button beside Launch to Preferred Scene and click on the Set Preferred Scene button and the OK button. Now when you launch Poser you will start with an empty scene.
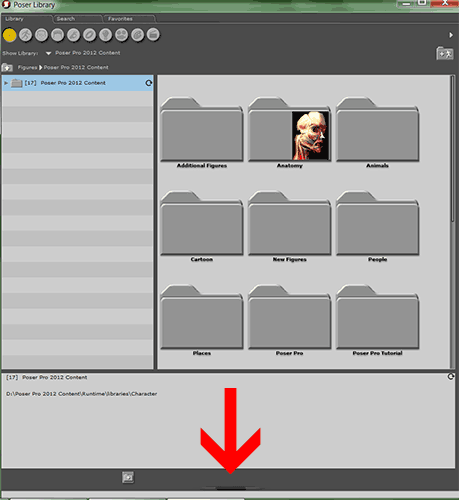
Now you will want to set your Library Preferences. Click on the button at the bottom of the library window.
Click on each button in turn. This is how I have my preferences set:
I like to set Breadcrumbs. What it does it to show the file structure like this:
It enables a quick way to navigate through the file system. Click on People and you are back into the People folder. Click on Poser Pro 2012 and you are taken straight back into the PP2012 folder. Great stuff!
Set your Library Preferences the way you find useful.
I hope this has helped you to set up Poser in a friendly way. Next time I will be showing you how to load content into the scene.


